Creating Admin Panels for NestJs and Prisma Made Easy with AdminJS
Streamline Admin Panel Creation with AdminJS for NestJs and Prisma Applications.


If you find yourself investing considerable time in building admin panels for NestJs and Prisma applications, AdminJS can be the solution. AdminJS is a robust framework that facilitates the creation of a comprehensive admin dashboard with minimal coding. It is compatible with numerous ORM and ODM models, streamlining CRUD operations on your models.
Moreover, AdminJS offers customization options that enable you to personalize the dashboard according to your project requirements. Kindly read further to acquire guidance on initiating AdminJS and attaining mastery over your application's data management.
What is ORM
Object-relational mapping (ORM) in computer science is a programming technique for converting data between incompatible type systems using object-oriented programming languages.
What is ODM?
Object Document Mapper (ODM) is a library that helps you to work with MongoDB databases. It provides an abstraction layer between the database and the application code. It allows you to use the object-oriented paradigm to work with the database.
Getting Started
AdminJs + NestJs => AdminJs + Prisma => Customizations
The aforementioned flow provides a concise overview of the process involved in configuring AdminJs for your NestJs project.
The recommended approach entails commencing the process by installing the requisite AdminJs packages. Subsequently, configure AdminJs with NestJs followed by Prisma, and finally, incorporate customizations as necessary which is optional.
Install Requirements
It's required that you have your nest project already set up, if you don't know how to create one you can use the official NestJs documentation.
yarn add adminjs @adminjs/nestjs @adminjs/express express-session express-formidable
All the requirements above are required by AdminJs and more information on them can be provided by AdminJs Docs.
app.module.ts
import { Module } from '@nestjs/common'
import { AdminModule } from '@adminjs/nestjs'

import { AppController } from './app.controller'
import { AppService } from './app.service'

const DEFAULT_ADMIN = {
  email: 'admin@example.com',
  password: 'password',
}

const authenticate = async (email: string, password: string) => {
  if (email === DEFAULT_ADMIN.email && password === DEFAULT_ADMIN.password) {
    return Promise.resolve(DEFAULT_ADMIN)
  }
  return null
}

@Module({
  imports: [
    AdminModule.createAdminAsync({
      useFactory: () => ({
        adminJsOptions: {
          rootPath: '/admin',
          resources: [],
        },
        auth: {
          authenticate,
          cookieName: 'adminjs',
          cookiePassword: 'secret'
        },
        sessionOptions: {
          resave: true,
          saveUninitialized: true,
          secret: 'secret'
        },
      }),
    }),
  ],
  controllers: [AppController],
  providers: [AppService],
})
export class AppModule {}
You might want your admin panel to not require authentication depending on the project you are working on. By removing the auth and sessionOptions from the object returned by the factory provider.
app.module.ts
...
AdminModule.createAdminAsync({
  useFactory: () => ({
    adminJsOptions: {
      rootPath: '/admin',
      resources: [],
    },
  }),
}),
...
The upper part and lower part of the app.module.ts is removed to conserve space.
Start your server
nest start --watch
# OR
nest start
Visit 127.0.0.1:<your port>/admin . If you have authentication enabled it will automatically redirect you to the login page.
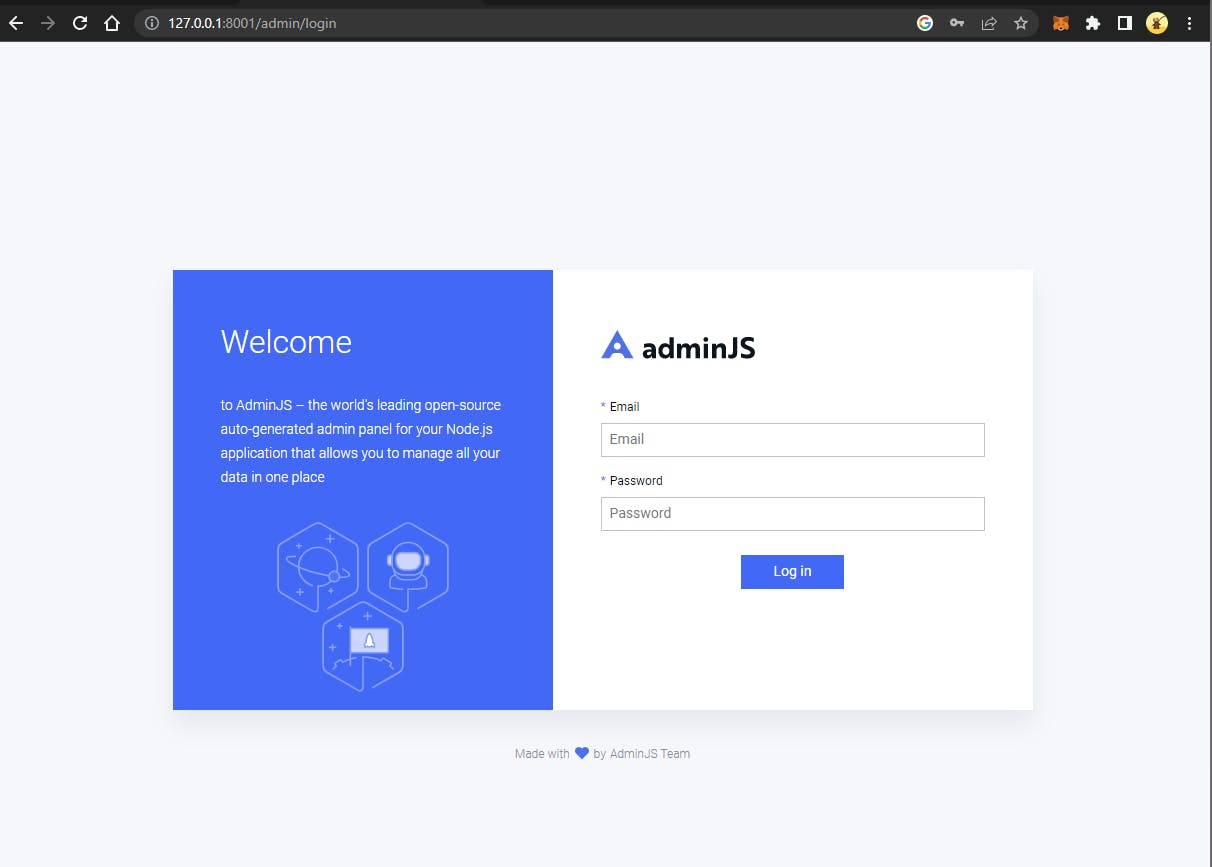
Enter the details from the DEFAULT_ADMIN object in the app.module.ts program.
Using Adapters to Connect to the Database in AdminJS
This tutorial focuses on using Prisma as the ORM. Prisma is open-source, has an auto-generated type-safe client for Node.js & Typescript, and manages migrations. AdminJs also work with other ORMs e.g TypeORM etc. They are called adapters and you can choose what you want to use. If you want to learn Prisma, follow this guide to getting started with Prisma ORM.
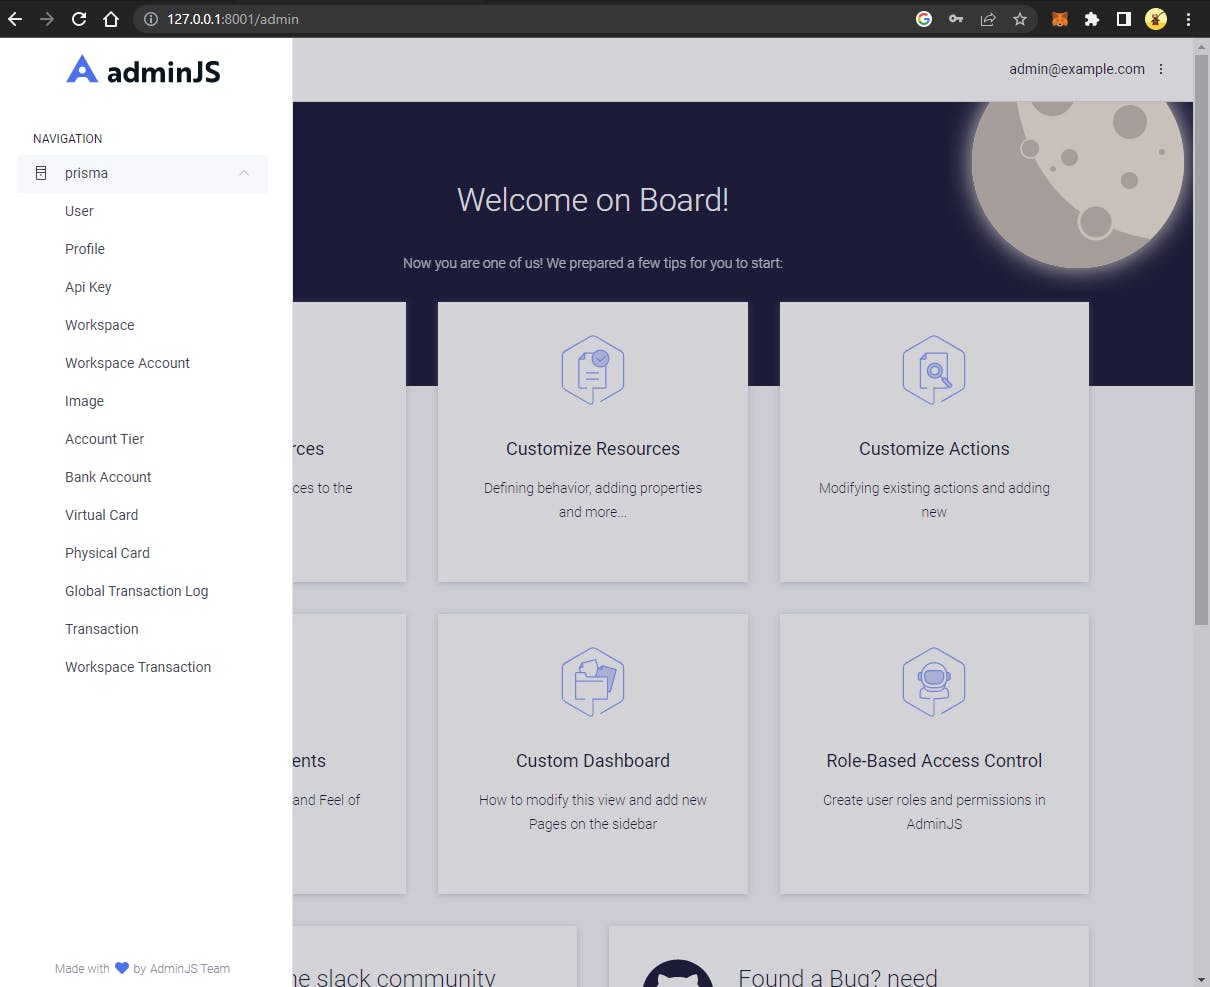
If you can't find your models on the dashboard after logging in, this is because AdminJs uses adapters you defined to connect to the database. It uses it as an intermediary to perform database actions like querying, creating, updating, etc.
schema.prisma
generator client {
  provider = "prisma-client-js"
}

datasource db {
  provider = "postgresql"
  url      = env("DATABASE_URL")
}

model User {
  pk            Int      @id @default(autoincrement())
  id            String   @unique @default(uuid()) @db.Uuid
  email         String   @unique
  password      String
  active        Boolean  @default(true)
  staff         Boolean  @default(false)
  admin         Boolean  @default(false)
  profile       Profile?

  @@unique([pk, id])
  @@map("users")
}

model Profile {
  pk              Int                      @id @default(autoincrement())
  id              String                   @unique @default(uuid()) @db.Uuid
  firstName       String?                  @map("first_name")
  lastName        String?                  @map("last_name")
  userPk          Int                      @unique @map("user_pk")
  userId          String                   @unique @map("user_id") @db.Uuid
  user            User                     @relation(fields: [userPk, userId], references: [pk, id], onDelete: Cascade, onUpdate: Cascade)

  @@unique([pk, id])
  @@unique([userPk, userId])
  @@map("profiles")
}
app.module.ts
import { Module } from '@nestjs/common'
import { AdminModule } from '@adminjs/nestjs'
import { Database, Resource } from '@adminjs/prisma';
import AdminJS from 'adminjs'
import { DMMFClass } from '@prisma/client/runtime';
import { PrismaService } from '@database/prisma.service';
import { DatabaseModule } from '@database/database.module';

import { AppController } from './app.controller'
import { AppService } from './app.service'

const DEFAULT_ADMIN = {
  email: 'admin@example.com',
  password: 'password',
}

const authenticate = async (email: string, password: string) => {
  if (email === DEFAULT_ADMIN.email && password === DEFAULT_ADMIN.password) {
    return Promise.resolve(DEFAULT_ADMIN)
  }
  return null
}

AdminJS.registerAdapter({ Database, Resource });

@Module({
  imports: [
    AdminModule.createAdminAsync({
      imports: [DatabaseModule],
      useFactory: (prisma: PrismaService) => {
        const dmmf = (prisma as any)._baseDmmf as DMMFClass;

        return {
          adminJsOptions: {
            rootPath: '/admin',
            resources: [
              {
                resource: { model: dmmf.modelMap['User'], client: prisma },
                options: {},
              },
              {
                resource: { model: dmmf.modelMap['Profile'], client: prisma },
                options: {},
              },
            ],
          },
          auth: {
            authenticate,
            cookieName: 'adminjs',
            cookiePassword: 'secret'
          },
          sessionOptions: {
            resave: true,
            saveUninitialized: true,
            secret: 'secret'
          },
        }
      },
      inject: [PrismaService],
    }),
  ],
  controllers: [AppController],
  providers: [AppService],
})
export class AppModule {}
Explore the basic Resource object format and effortlessly add multiple resources to your project.
{
  resource: { model: dmmf.modelMap[{Model name here}], client: prisma },
  options: {},
}
Make sure you replace {Model name here} with the name of the model you want to use. For example, if you have a model Post, you would replace {Model name here} with Post.
How does this work?
The Database Model Mapper (DMMF) object comprises a comprehensive depiction of your database schema. Its functionality extends to facilitating the extraction of your model from Prisma. The DMMF achieves this by mapping model names to their respective model objects. For example, to retrieve the User model from the map, one can utilize the syntax dmmf.modelMap['User']. Once the model object is obtained, it can be assigned to the resource's model property.
The Prisma client serves as the client property, facilitating connectivity to the database for conducting CRUD operations.
You can add as many resources as you need. For example, if you have a Post model in your Prisma schema that you want to be displayed in the Admin Dashboard. You just need to add it to the resources array;
app.module.ts
...
{
  resource: { model: dmmf.modelMap['Post'], client: prisma },
  options: {},
},
...
Now restart your server if it's not on fast reload.
Simplify adding resources
When managing a substantial number of database models, it is common to encounter the need for duplicating codes while incorporating new resources for each model.
The implementation of the Builder pattern in coding allows for the addition of multiple resources without duplicating code, thereby enhancing code efficiency and ease of maintenance. Consider incorporating this pattern into your coding practices to reap the benefits.
import { Module } from '@nestjs/common'
import { AdminModule } from '@adminjs/nestjs'
import { Database, Resource } from '@adminjs/prisma';
import AdminJS from 'adminjs'
import { DMMFClass } from '@prisma/client/runtime';
import { PrismaService } from '@database/prisma.service';
import { DatabaseModule } from '@database/database.module';
import { ResourceWithOptions, ResourceOptions } from 'adminjs/types/src';

import { AppController } from './app.controller'
import { AppService } from './app.service'

const DEFAULT_ADMIN = {
  email: 'admin@example.com',
  password: 'password',
}

const authenticate = async (email: string, password: string) => {
  if (email === DEFAULT_ADMIN.email && password === DEFAULT_ADMIN.password) {
    return Promise.resolve(DEFAULT_ADMIN)
  }
  return null
}

AdminJS.registerAdapter({ Database, Resource });

class CResource {
  model: any;
  options: ResourceOptions;

  constructor(model: any, options?: ResourceOptions) {
    this.model = model;
    this.options = options || {};
  }
}

class CResourceBuilder {
  private readonly resources: Array<CResource> = [];
  dmmf: DMMFClass;

  constructor(private readonly prisma: PrismaService) {
    this.dmmf = ((prisma as any)._baseDmmf as DMMFClass)
  }

  /**
   * Adds a resource to the builder
   *
   * @param resource string
   * @param options ResourceOptions
   * @returns this
   */
  public addResource(resource: string, options?: ResourceOptions): this {
    const obj = new CResource(this.dmmf.modelMap[resource], options);
    this.resources.push(obj);
    return this;
  }

  /**
   * Compiles the resources into an array of objects
   * that can be passed to the AdminJS module
   *
   * @returns Array<ResourceWithOptions | any>
   */
  public build(): Array<ResourceWithOptions | any> {
    return this.resources.map((resource) => {
      return {
        resource: {
          model: resource.model,
          client: this.prisma,
        },
        options: resource.options,
      }
    })
  }
}

@Module({
  imports: [
    AdminModule.createAdminAsync({
      imports: [DatabaseModule],
      useFactory: (prisma: PrismaService) => {
        const dmmf = (prisma as any)._baseDmmf as DMMFClass;

        return {
          adminJsOptions: {
            rootPath: '/admin',

            // updated here
            resources: new CResourceBuilder(prisma)
              .addResource('User')
              .addResource('Profile')
              .addResource('Post')
              .build(),
          },
          auth: {
            authenticate,
            cookieName: 'adminjs',
            cookiePassword: 'secret'
          },
          sessionOptions: {
            resave: true,
            saveUninitialized: true,
            secret: 'secret'
          },
        }
      },
      inject: [PrismaService],
    }),
  ],
  controllers: [AppController],
  providers: [AppService],
})
export class AppModule { }
You can always export the classes, functions and objects from an external file.
Conclusion
In conclusion, AdminJS is a powerful tool for creating admin dashboards for NestJS and Prisma applications. With its adapters for various ORM and ODM models, it simplifies the process of performing CRUD operations on models. It also provides customization options for the dashboard, making it easy to tailor it to specific project needs. By following the steps outlined in the article, developers can quickly set up AdminJS and start using it to manage their application's data.
Resources
I'd love to connect with you on Twitter | LinkedIn | GitHub | Portfolio
See you in my next blog article. Take care!!!